In the spirit of Halloween I decided to make a new toy for Saphira or more so reinvent an old one. I bought a few racket balls for Saphira since I figured she would like playing with them and they don't seem to hit as hard as a tennis ball when thrown at the walls. Well she hated them, I'm not completely sure why except it's probably the taste of the rubber. After looking at patterns one day I found a really cute bat. I used the pattern as a basis since the original ends up being much larger. I have included a PDF pattern of the wings and tail, the body and ears can be found on the original pattern's link.
Crochet toys really seem to hold up with my little girl, she plays tug-a-war with them, tries to pull them apart and yet the toy still look like it did the day I made it. So far this is the first fairly intricate toy I have made her so I am curious to see how long it holds up at least at the joint areas since that is the weakest point on the bat.
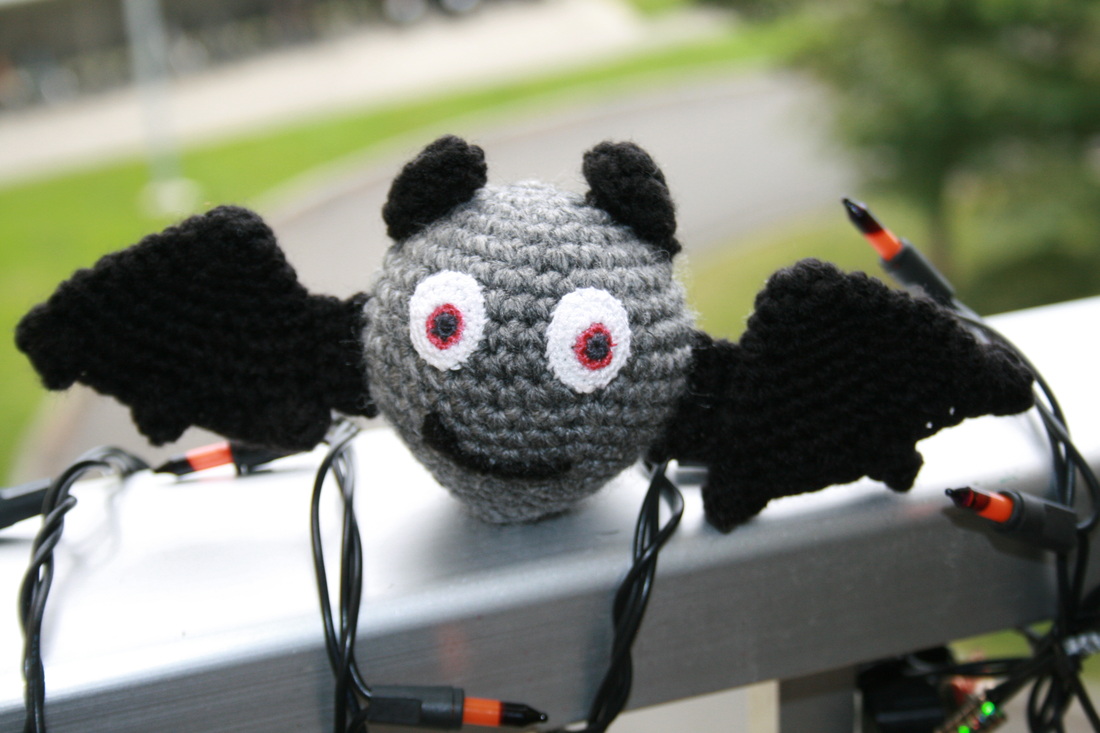
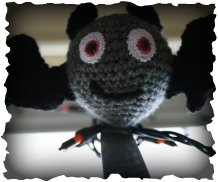
I call this toy "The Mousy Bat" since he is essentially a bat but has a cute little mouse-like tail and ears. I decided on red iris color for the eyes due to the black and grey color scheme, plus the Halloween theme. The quirky little smile just adds to his cuteness.
It's fun to throw this little ball by the tail I find I have a much better aim since the wings sometimes get in the way. My husband just throws it and it doesn't matter where he holds it, the ball seems to have a mind of its own when it's in his hand.
So now on to the pattern, hope you enjoy creating a version of your own!
The Mousy Bat Pattern:
For the body, eyes, and ears I used a cute little pattern for"Morgan" from a fellow blogger. On the body since I was fitting it to a racket ball I had to reduce the amount of rows as well as stitches. So just keep the racket ball or tennis ball on hand so you can place it within your work as you go along to use as a reference.
Materials:
Hook Size: E
Worsted Yarn (colors of your choosing)
Lace Thread (for eyes)
Tapestry Needle
Abbreviations:
CH = Chain, SC = Single Crochet, Sl St = Slip Stitch, SP = Space, BO = Bobble, STS = Stitches
Wing Pattern:
Ch 2 (using a sloppy slip knot or magic ring)
Rnd 1: In 2nd ch from hook, 6 sc. (6 sts)
Rnd 2: Sc in each sp around. (6 sts)
Rnd 3: 2 sc in each sp around. (12 sts)
Rnd 4: sc in each sp around. (12 sts)
Rnd 5: *2 sc, sc* repeat from * five more times. (18 sts)
Rnd 6: sc in each sp around. (18 sts)
Rnd 7: *2 sc, sc in next 2 sp* repeat from * five more times. (24 sts)
Rnd: 8 - 9: sc in each sp around. (24 sts)
Fold in half so it creates a triangle shape (work along the bottom edges while sewing it closed and giving it a nice edge.)
Rnd 10: sc in 1st sp to join edges together, 4 dcbo in same sp as join, sc in next 4 sp, 4 dcbo, sc in next 4 sp, 4 dcbo.
Row 1: Working up the side of the triangle (since the base was just finished) sl st in the next 5 sp (should be halfway up the triangle). Ch 1 and turn.
Row 2 - 3: sc in next 4 sp (of sl st), ch 1 and turn. On last row fasten off and leave tail for sewing.
Tail Pattern:
Ch 2 (sloppy slipknot or magic ring)
Rnd 1: In 2nd ch from the hook, 5 sc. (5 sts)
Rnd 2: 2 sc in each sp around. (10 sts)
Rnd 3: *Sc2tog, sc* repeat four more times. (5 sts)
Rnd 4-10: sc around each sp. (5 sts)
On last round fasten off and leave tail for sewing.
Follow assembly instructions from original pattern. Enjoy!
| the_mousy_bat.pdf |