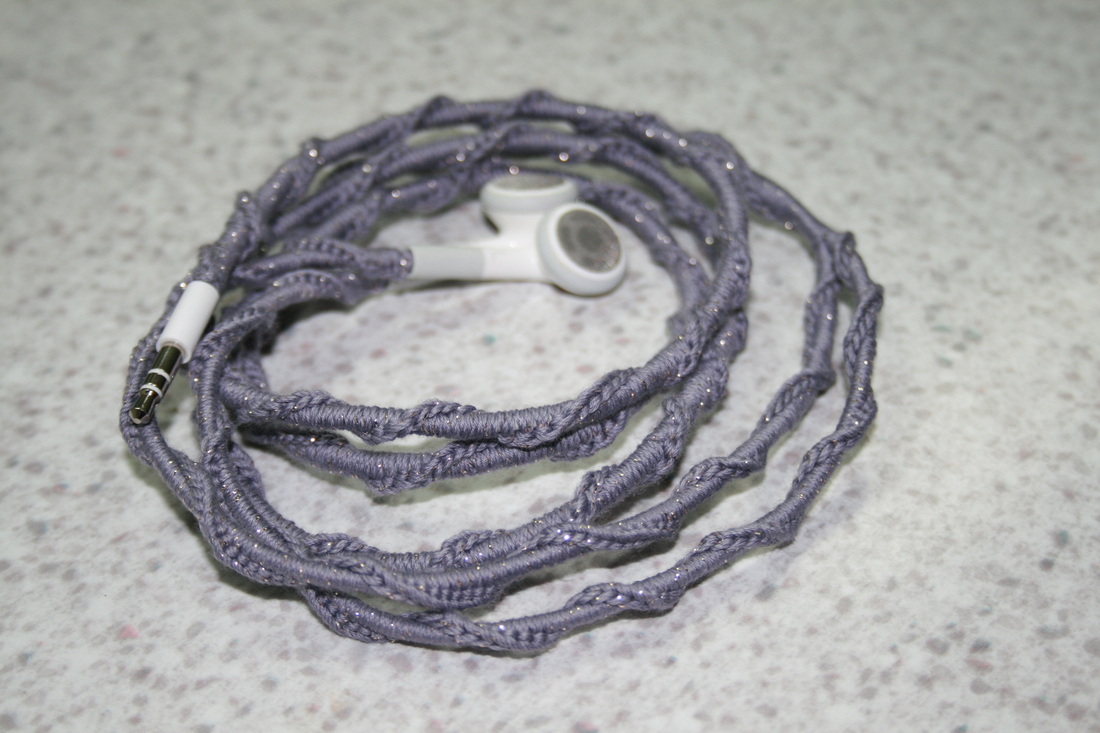
Hmm...covered ear buds...It got me thinking and I decided that I wanted to give it a try. I saw a version that was done using a friendship bracelet technique, and after reading the post I decided it was way too much work doing it that way. So I decided to try a single crochet stitch for the whole thing.
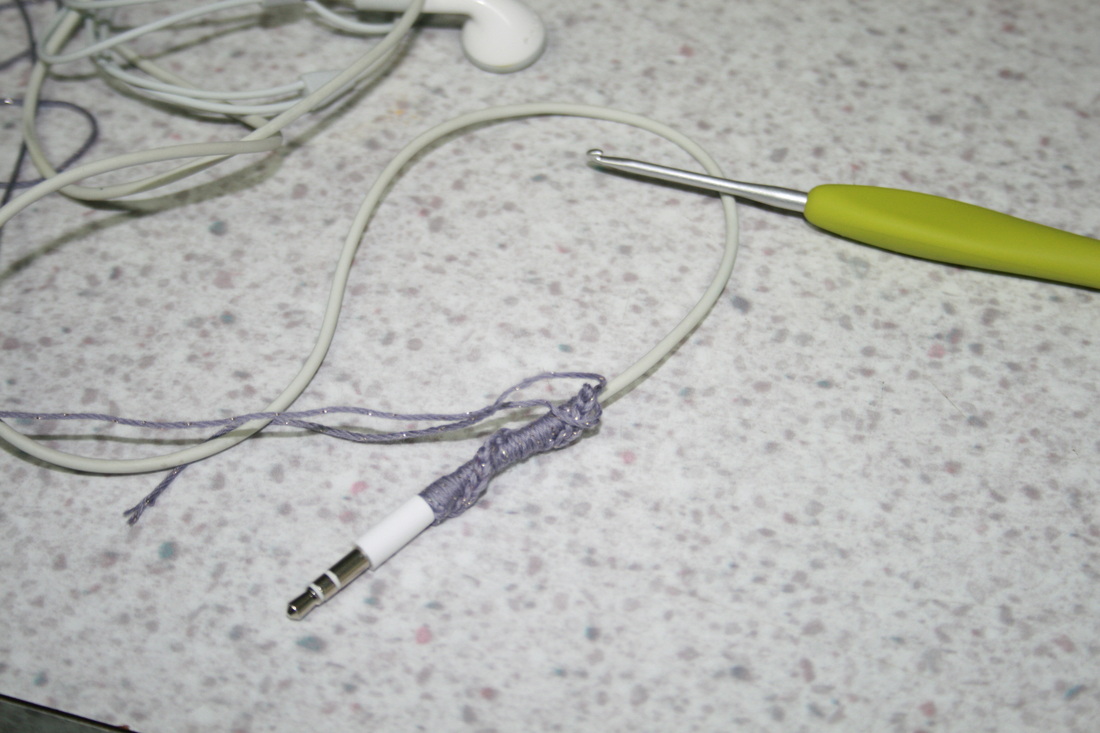
To start create a slip knot, place hook in the loop, remove slack. Begin single crochet stitch over the cord. Remember to work over tail to hide it. I recommend adding a little dab of glue (such as superglue) to keep everything in place. If you are working with iPod ear buds the are little humps to get over and around so that little glue trick will pay off in the long run.
Continue to single crochet up about 2-inches then start to twist, the easiest way to get a good twist is hold the start and keep twisting, release and see if it has the right amount of twist then continue crocheting up. If the you are able to see the cord push down on the stitches to compact it a little that should solve the problem and will probably need to be done every so often.
Continue to single crochet up about 2-inches then start to twist, the easiest way to get a good twist is hold the start and keep twisting, release and see if it has the right amount of twist then continue crocheting up. If the you are able to see the cord push down on the stitches to compact it a little that should solve the problem and will probably need to be done every so often.
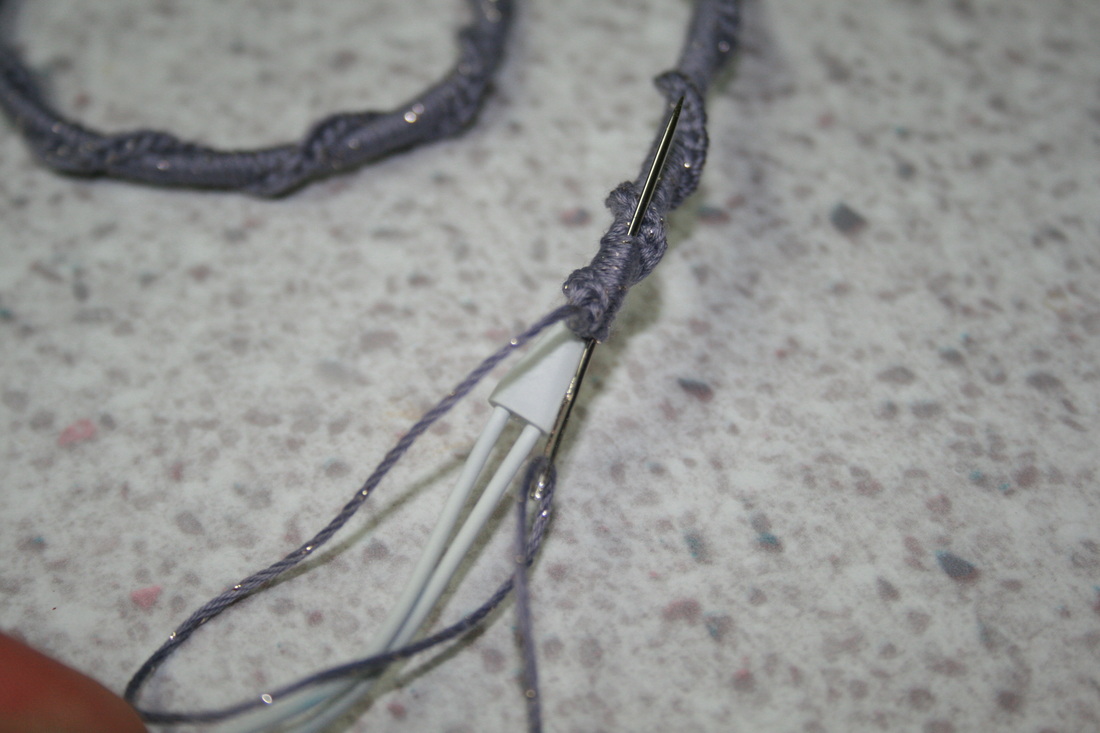
If you are using iPod earbuds that are the same style as what I used there is a bit of a difficult part trying to getting over the little triangular connector piece so I ended up fastening off and running the tail through very carefully with a blunt needle. I say be careful because you don't want to puncture the cord, so using the blunt needle push underneath stitching doing a scooping motion. I found that it helped pick up more and didn't leave me running through my thread as much.
Starting again (if needed) begin like the start, except twisting will become more difficult when dealing with two wires so you may want to tape them together if they twist too much with some electrical tape. Also depending upon personal preference you probably won't need to crochet them that high up along the wires. I separated at about four to five inches. I like to have about seven to eight inches of individual cord length for each ear bud. So once you get to the point where you need to split, just continue crocheting on whichever side is closer to you last single crochet. Single crochet up remembering to twist and compact stitches as you go. At the top work a few extra stitches before fastening off to ensure it covers the cord. Fasten off, using a blunt needle work the tail back through your work. I would recommend adding a dab of glue just at the entrance to the ear bud when it has the grey rubber material to keep your work from pulling out.
On the second ear bud wire, you will have to start again like you did in the begin and work over the tail. I found a single crochet close to the separating point was the easiest place to start with, but you don't necessarily need to start in the previous work you can start anywhere near the join. Just make sure you compact your stitches to cover the area where you started since it is not a perfect join and could show the wire, compacting your stitches by pushing them down as you go should fix the problem. Once finished fasten off and weave the tail back into work, and add a dab of glue in the same place as you did on the other ear bud to keep this side's work in place as well.